Shop
 Grade workbooks


Classroom · How to draw · Kindergarten to 3rd grade
How to draw an apple
Draw an apple in 4 easy steps. In every picture below, the red lines are the new ones to add. Print the worksheet to practice: follow the steps, trace the apple, then draw it on your own.
Step by step
 Step by step
- 1
Draw a round apple shape with a dip at the top.
- 2
Draw a short stem coming out of the dip.
- 3
Add a leaf next to the stem.
- 4
Draw a little shine on the apple. Then color it.
- 5
All done! Color your apple, then draw a place around it.

Did you know?
There are thousands of kinds of apples: red, green and yellow.
The printable worksheet
 The printable worksheet
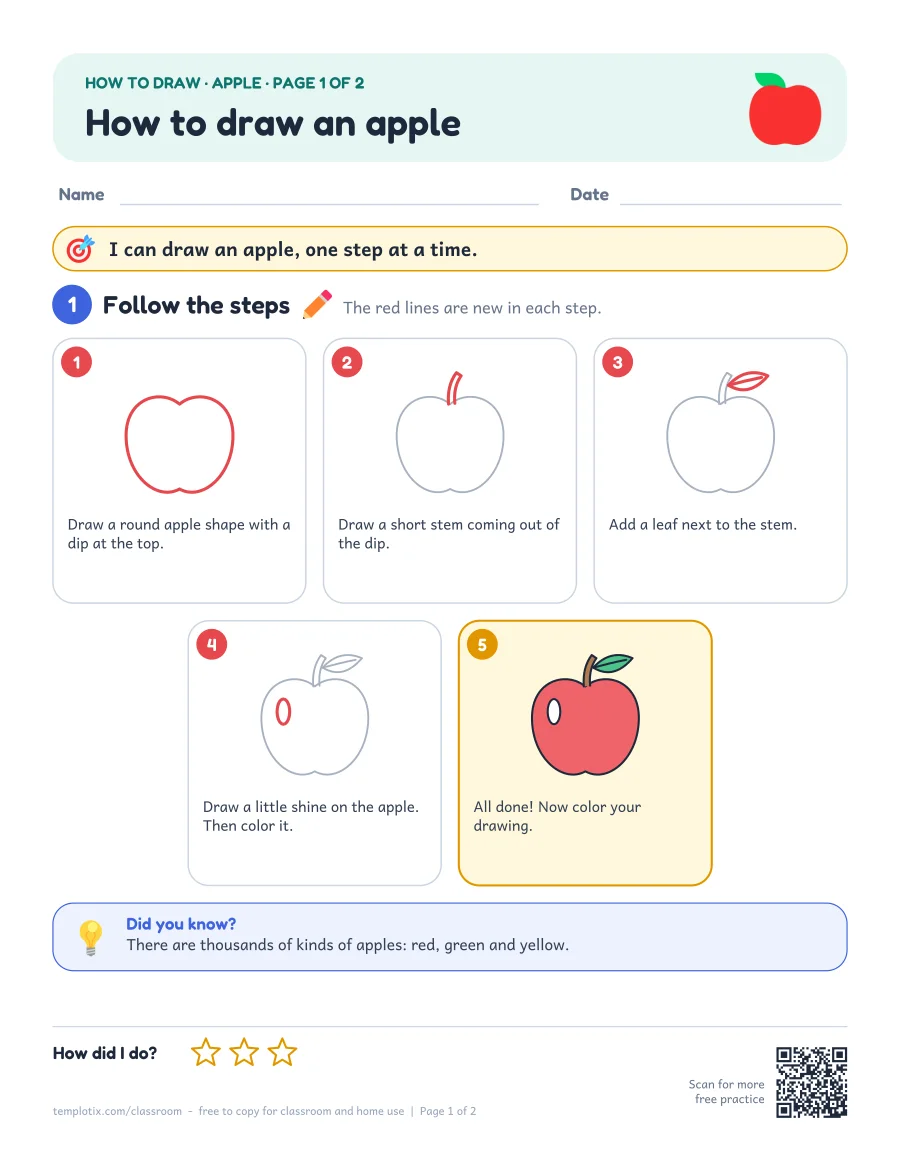
Page 1: all the steps in order, the finished picture to copy the colors from, and a fun fact.
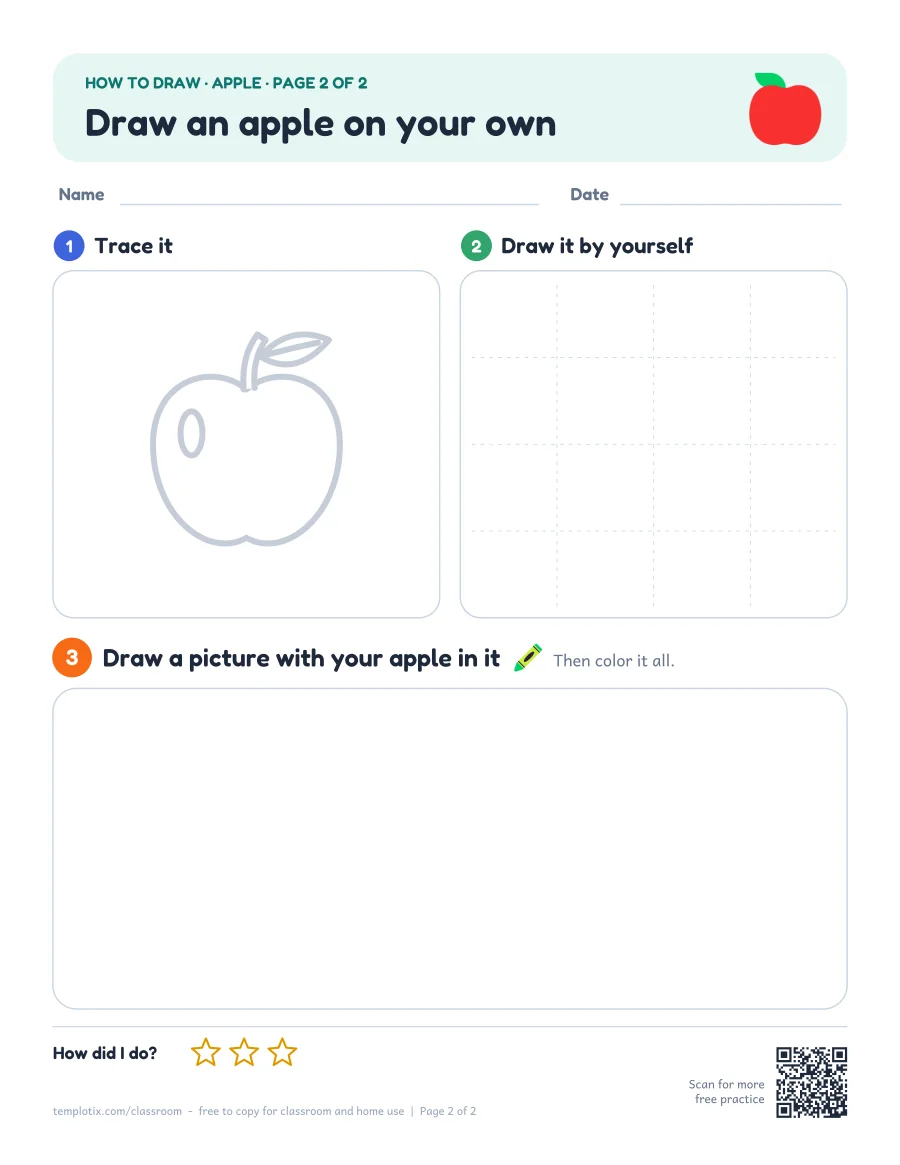
Page 2: trace the apple, draw it in an empty box, then draw a whole picture with it.
Common questions
Is it hard to draw an apple?
No. This apple is made of simple shapes, and each step adds only a few lines, so children from about 4 years old can follow it. The worksheet also has the apple to trace first.
What do I need?
A pencil, an eraser and crayons or colored pencils. Draw lightly first, then go over the lines you want to keep.
Is the worksheet free?
Yes. The 2-page PDF is free to print for classroom and home use, in color or in the black-and-white ink saver.
More easy drawings
- How to draw a snowflake
- How to draw a house
- How to draw a car
- How to draw a rocket
- How to draw a cat
- How to draw a turtle
- How to draw a fish
- How to draw an owl
All drawing lessonsApple coloring pagesColoring pagesAll worksheets